Efficient Thin Wall Milling Techniques
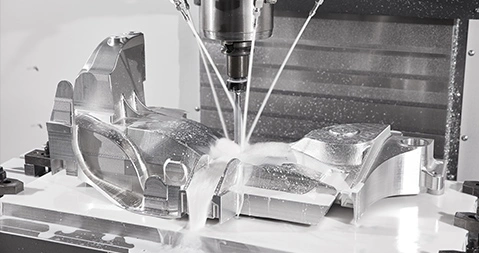
Machining parts with thin walls and high dimensional stability is often a dilemma when designing product parts. Parts with thin walls are likelier to have lesser geometric accuracy, stability and straightness. These parts are also more susceptible to breaking, chatter and less likely to have the uniform wall thickness that most parts demand for improved strength and functionality.
From design to material, milling technique and tooling, there are several reasons why achieving high-accuracy thin-wall parts may be challenging. Below are some key techniques and tips that can help you perform a highly effective thin-wall milling operation, and consequently, produce high-precision parts that look, and function just as intended.
1. Try not to go below 3/16” or 4mm
While CNC machines can machine parts with less than 4mm of wall thickness, going below this level means you’re likely to manufacture parts with extremely low structural integrity and stability. In some instances, parts with walls thinner than 4mm may even become damaged during the machining process itself. As a rule of thumb, keep your walls within the 4mm or higher range. Do not make any pockets that are deeper than 0.75’’. This is because going any deeper than this will cause bends or breakage while machining. If machining thinner walls is a must for your design, you will need to factor in the cost, additional labor and increased lead times that will go into ensuring that your parts remain stable, functional and machinable at such dimensions.
2. Use the appropriate tooling and milling technique
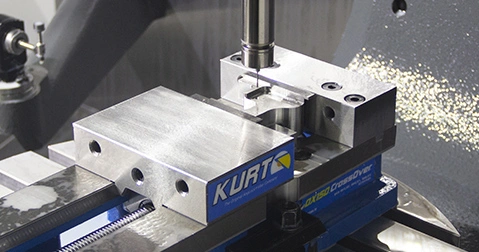
Due to the criticality of thin walls, working with the wrong types of tooling can spell disaster. Milling parts with thin walls can be likened to creating parts with sheet-metal dimensions, at times, even thinner. Using long length tools may lead to chatter and wall breakage due to the higher risk of tool deflection. Try to select tools that can help you reach depths that are two to three times your diameter, short and strong. Cutters that have more flutes are more suitable for thin wall milling. While the cutter’s angle of impact (engagement) is a factor, the more the flutes, the more the engagement on the workpiece which delivers more stability during milling. Choose higher helix tools for thin wall milling to help you keep the part in tension.
Also, use high-performance tool paths and climb milling techniques to help you deliver increased tool performance. When dealing with thin walls, climb milling is essential as it cuts with the part rather than against the workpiece. Consequently, climb milling ensures that there is lesser energy transfer to the workpiece, making it less likely to vibrate and chatter.
Finally, consider the material being milled as some materials have a higher heat dissipation rate than others. Materials with low heat dissipation can be problematic as the heat will build up more during milling. If this is the case with you, put some attention into your spindle speed or cutter engagement to help manage your cooling.
3. Consider support structures and geometries
Because of the likelihood of damaging your workpiece, breakages and chatter, it is strongly recommended that you use support structure when milling thin walls. Take advantage of the part geometry such as curved walls and jogs to help strengthen your part and make it more machinable.
Use support structures like ribs and gussets where possible and consider having a solid base below your main part to accommodate the machining vibrations and reduce the likelihood of failure. Support structure and geometries will not only increase the tendency of you finishing a structurally sound and tolerant part, it also helps to ensure a better-quality surface finish.
4. Design and Radii considerations
Another way to have a successful thin wall milling operation is to make sure that your minimum internal radius is higher than your tool’s radius. Try to get your designers to conjure the design with internal radii lower than your standard cutter sizes. This assures you that your tool will continue to rotate without stopping when it encounters a part with the same radius. It also enhances the surface finish of your design. For better design and radii considerations, you can refer to the G-cutter optimizer page here.
First Part CNC Machining Services
With decades of experience in machining, injection molding, sheet metal services and urethane casting, Firstpart is always available to help you push the boundaries of cost savings. We are able to manufacture high quality parts with high precision, complex geometries, tight tolerances and excellent structural integrity. Take advantage of our online quoting and digital manufacturing services today. Click here to contact us and receive a free quote now!
